Branding the NuGet Gallery
This doc covers the general instructions for re-branding the NuGet Gallery (based on API v2) so that a separate gallery with new branding (and content, style, etc.) can be quickly and easily set up. Additionally, it will be possible to continue taking pulls from the main git repository as the files will not conflict with the existing gallery.
At a high level re-branding the gallery is as simple as these three steps.
- Clone the gallery
- Modify the web.config
- Add any new files/content to the Branding folder
Follow the instructions on setting up a local version of the NuGet Gallery here, with the following changes:
- First fork the gallery from the main fork to your own version. This can be accomplished be clicking the fork button at the top of the GitHub page for the NuGet Gallery Repository.
- When you clone down, you will use the url of your own fork of the gallery, not the main NuGetGallery fork.
- After cloning add a reference to the main NuGetGallery repository by typing
git add remote nuget https://github.com/NuGet/NuGetGallery.gitin your GitBash/Powershell terminal.
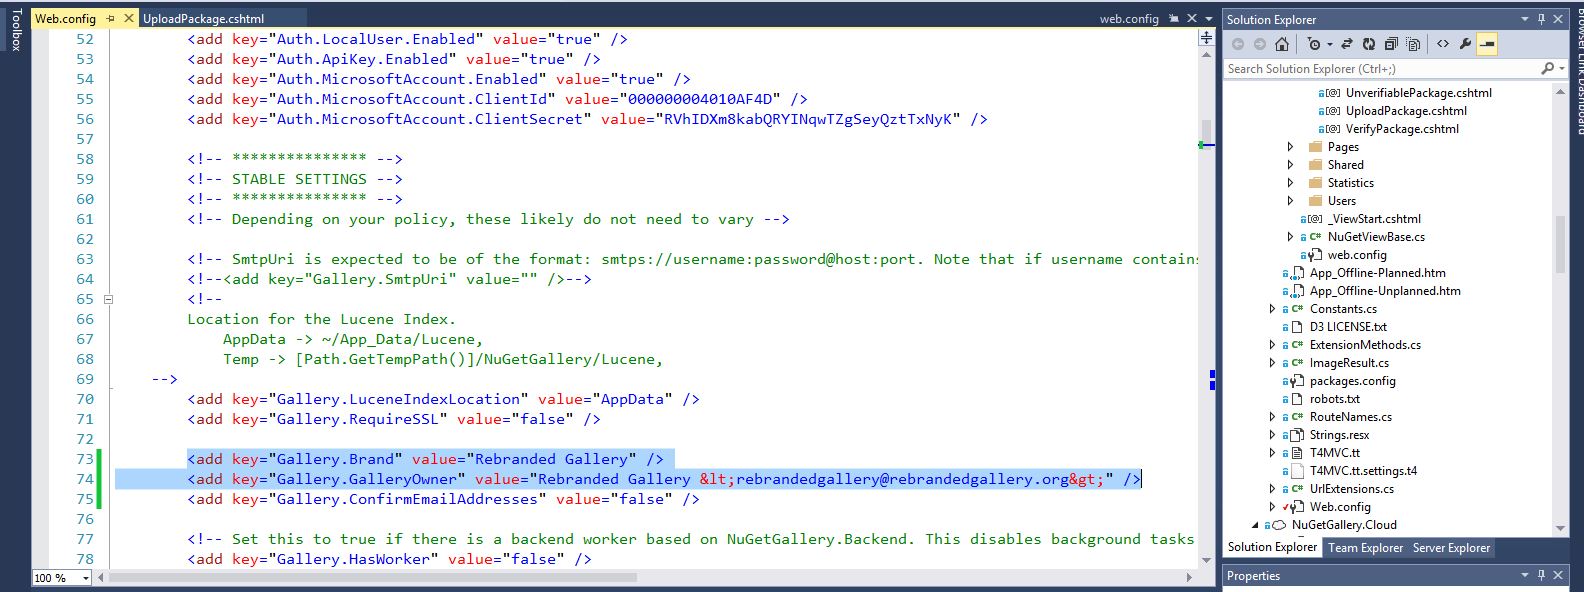
In addition to any modifications made as part of the process to get your gallery running locally in the instructions above, find the Gallery.Brand and the Gallery.GalleryOwner references and modify them with the new values for your re-branded Gallery.
<add key="Gallery.Brand" value="Rebranded Gallery" />
<add key="Gallery.GalleryOwner" value="Rebranded NuGet Gallery <your_email@youremailhoster.com>" />
For adding any new Views to the re-branded Gallery use the following instructions:
-
Copy the directory structure under the
Viewsfolder of the view you are overwriting exactly under theBrandingfolder./Views/Packages/Manage/UploadPackage.cshtml maps to /Branding/Packages/Manage/UploadPackage.cshtml -
Create the new Razor file there.
-
Build and Run the Project.
-
Navigate to the page you are overwriting and verify that the page has the content from the
Brandingfolder.
For adding any new Content files to the re-branded Gallery use the following instructions:
- In the
Brandingfolder create aContentfolder. - Add the Content file of your choice (Styles, Layout, PageStylings)
- Note that these files will be appended to the matched Content file, with normal css rules being used (later overwrites of the same rule will win).
- This means that it is possible that pulling down the latest gallery version from git can change your styling as more specific rules can be added in the pull request.
Note: there is a current bug related to content re-branding getting served. Workaround steps are provided there
The goal of re-branding the gallery in the steps outlined above is that you can continue to pull updated versions of the gallery code without worrying about your views and content being overwritten. Additionally, you can use the existing git infrastructure of the gallery to do your own source control within your team. When you are ready to pull the latest changes from the main fork of the gallery just do a git pull nuget master and you will get the latest gallery bits.
Note: the web.config can cause a merge conflict (if it has been modified in master), and when resolving the merge conflict you should make sure to preserve any updates you have made, while being aware of any new settings added in master.
##Examples of Re-Branding the Gallery
This section has in depth walkthroughs and examples of the different processes involved in re-branding the gallery detailed above.
Open the web.config file of the NuGetGallery project. Then search for the Brand and GalleryOwner attributes in the file.
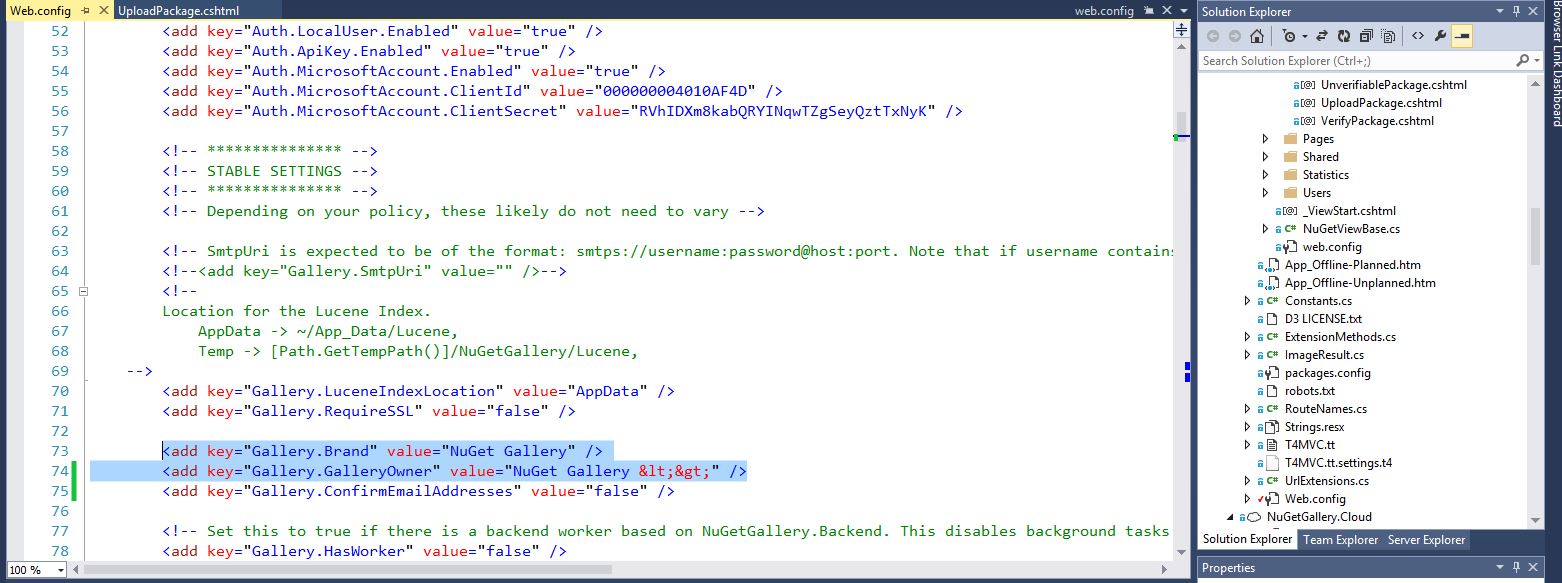
Modify these two attributes to the new values for your re-branded Gallery.
In this example, the Upload Package page will be re-branded to contain unique language for the re-branded site.
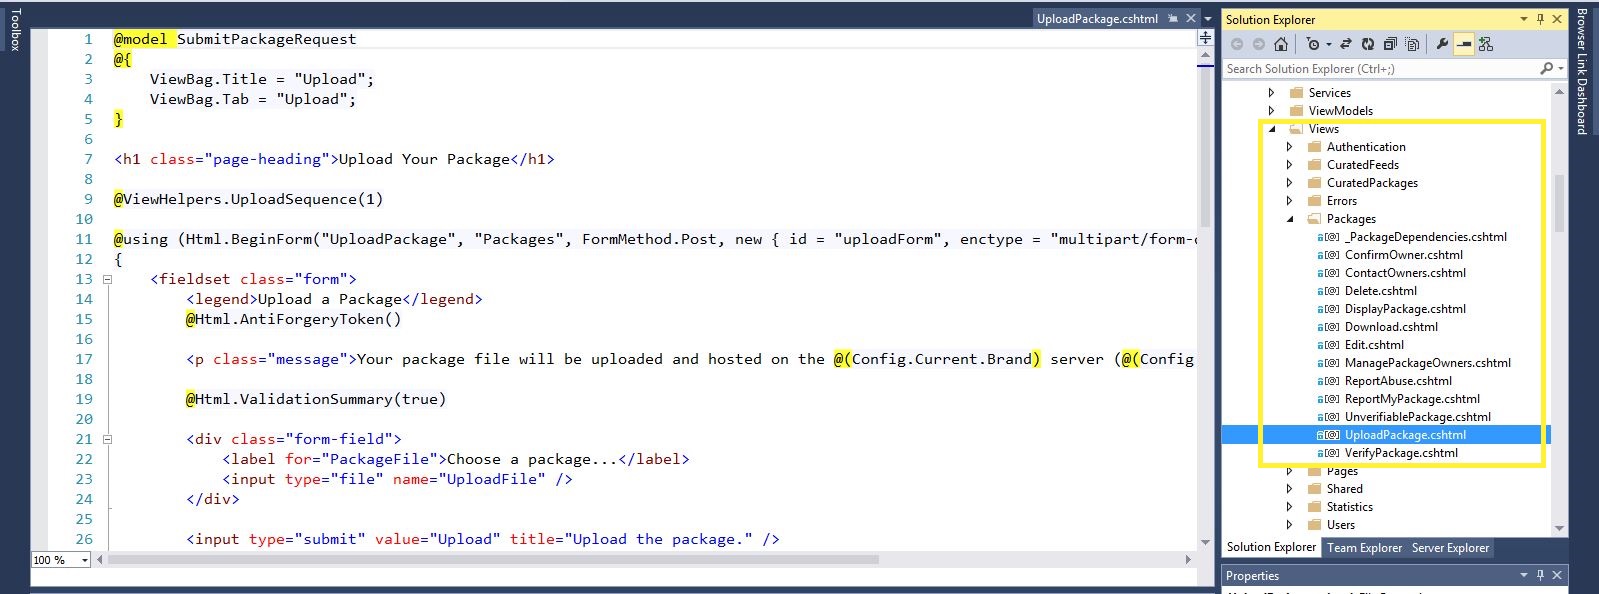
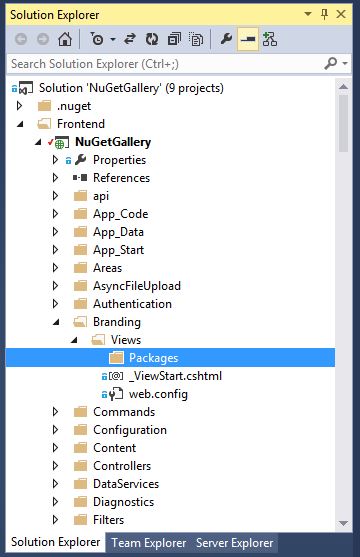
First, note the folder structure of the original Upload Package page.
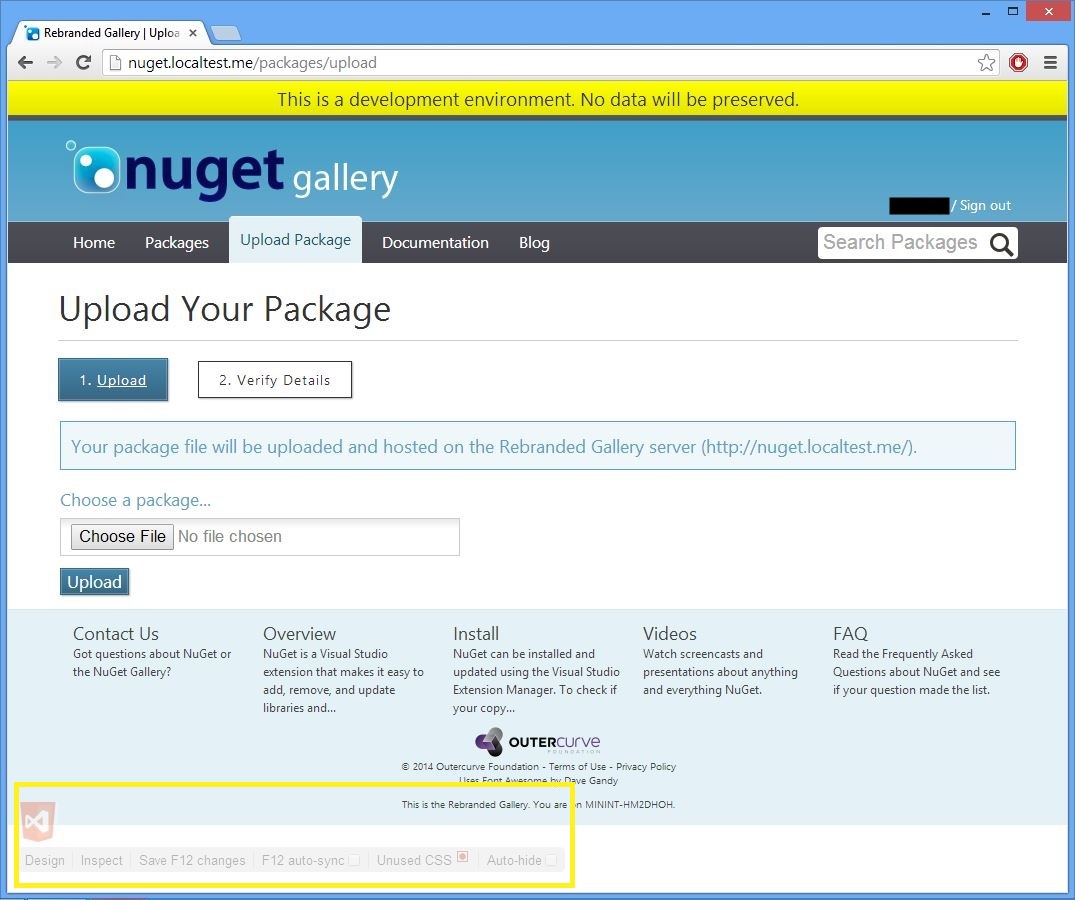
Also notice that on F5, if you navigate to http://nuget.localtest.me/packages/manage/upload you see the content from the uploadPackage page.
![screenshot of http://nuget.localtest.me/packages/manage/upload] (https://raw.githubusercontent.com/NuGet/NuGetDocs/master/NuGet.Docs/images/Contribute/uploadpackage2.JPG)
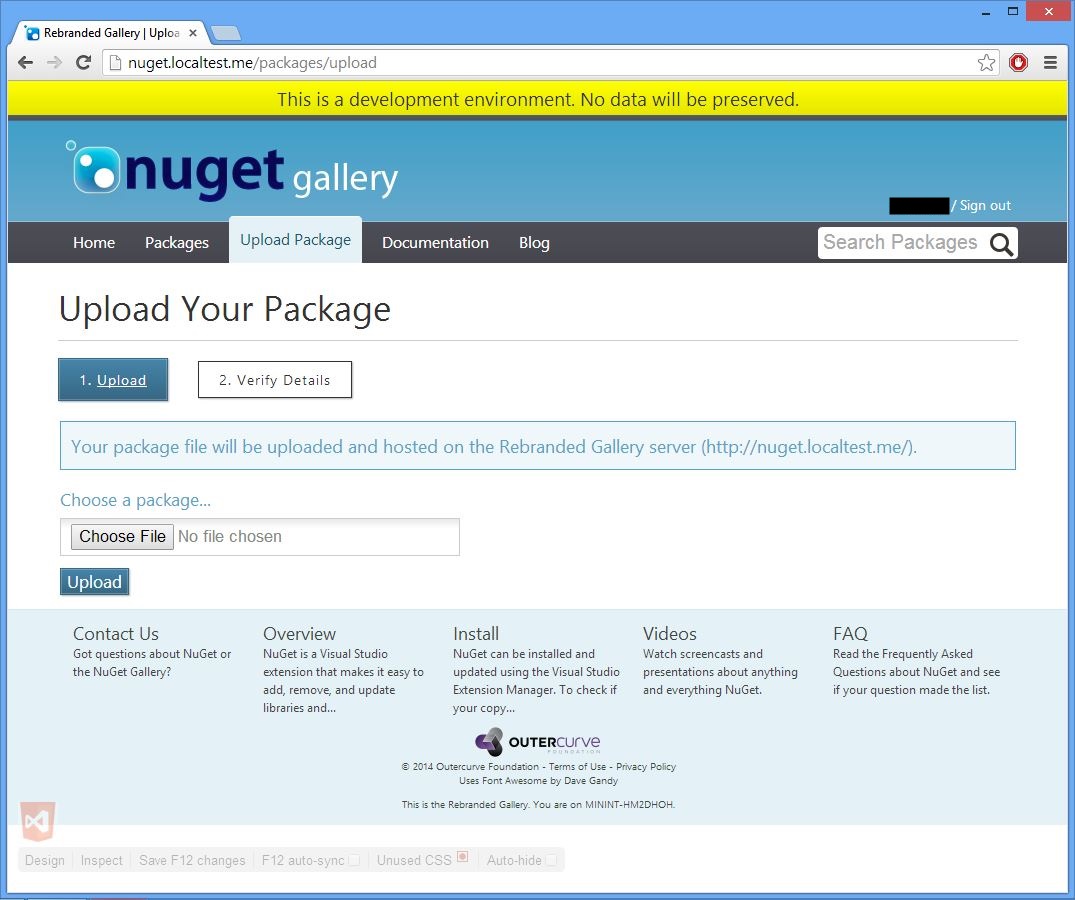
Create a matching folder structure (including the Views folder, under branding)
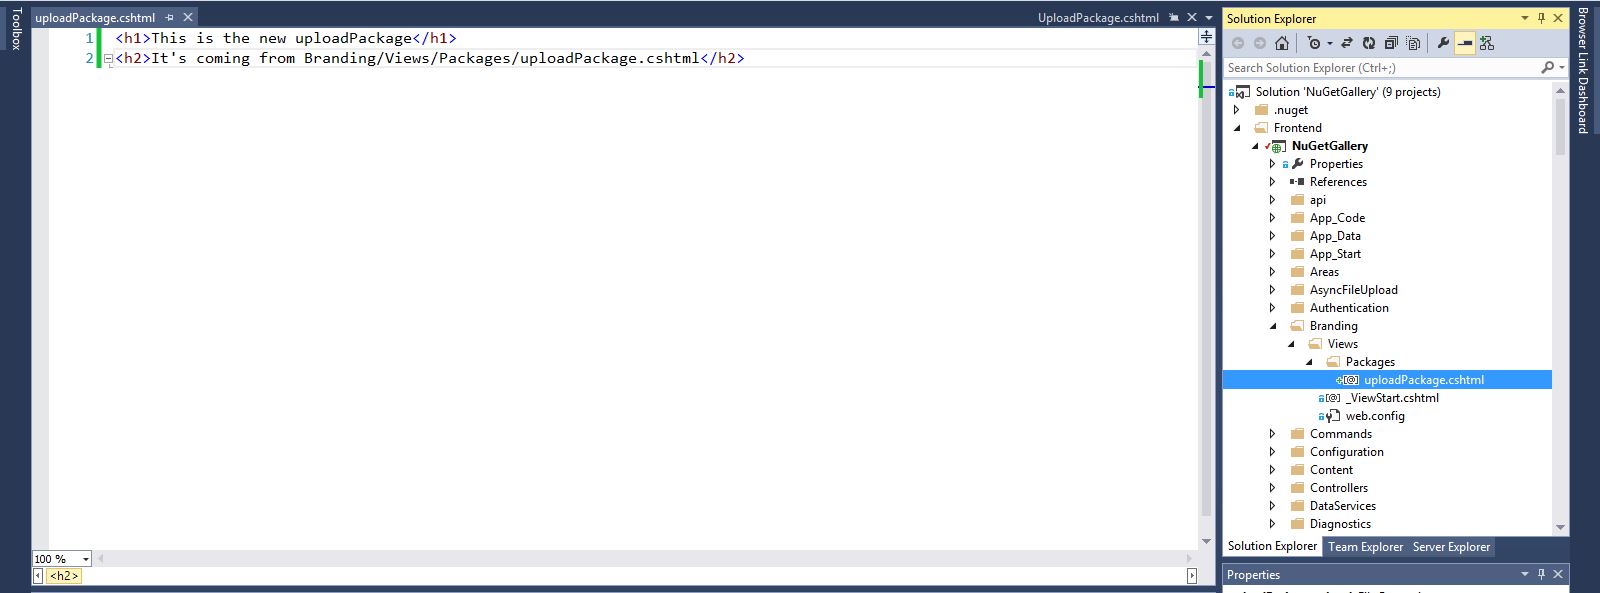
Create a new .cshtml file named uploadPackage.cshtml under the new Branding/Views/Packages Area path. Then modify the file to the new desired values.
When we now refresh the http://nuget.localtest.me/packages/manage/upload page in the browser, the new content from the Branding/Views/Packages/uploadPackage.cshtml is displayed.
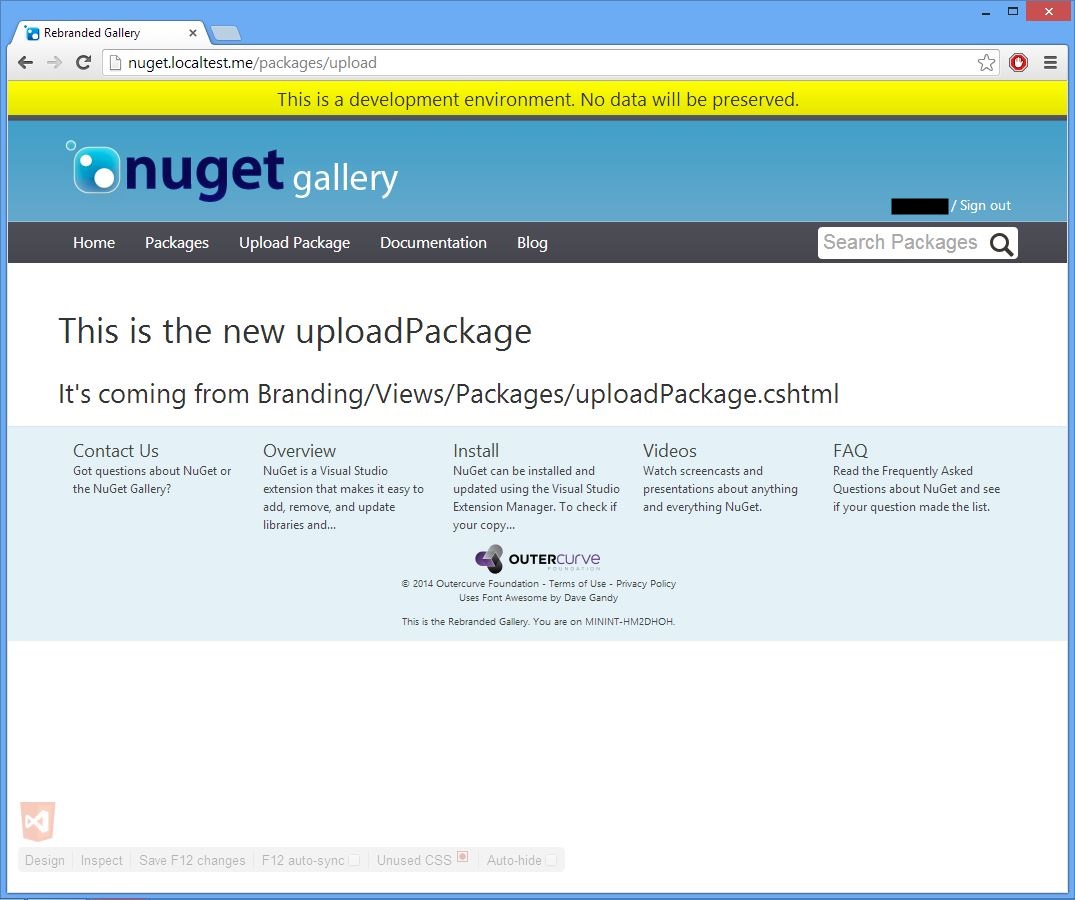
That's all.
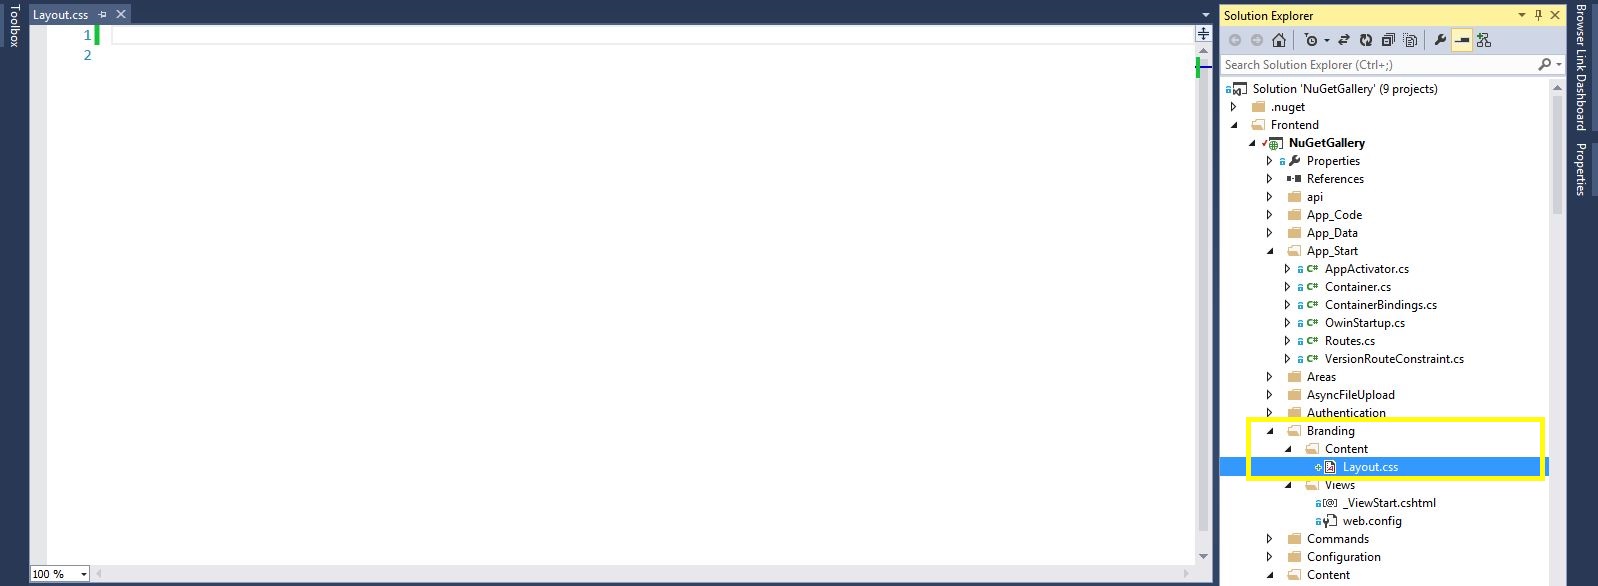
Identify which content file the styling you are overriding comes from (Layout, Site, or PageStylings). Create a new css file with the same name in the Branding/Content folder. In this example some styling from the Layout page is being overridden, so that file is created.
Now add your css rule as normal (either for overriding or for creating new styling rules). In this example, the footer background color is modified from a peaceful teal to a blinding yellow.

Using BrowserLink (with WebEssentials) it's easy to identify which files you need to override in the Branding folder.
Pre-reqs:
- Visual Studio 2013 Pro, Premium or Ultimate
- WebEssentials
Go into Visual Studio, and run the NuGetGallery (F5). In the browser navigate to the page you want to alter. In this example we will use the Upload Package page. Notice at the bottom left of the browser window there is a semi-transparent overlay.
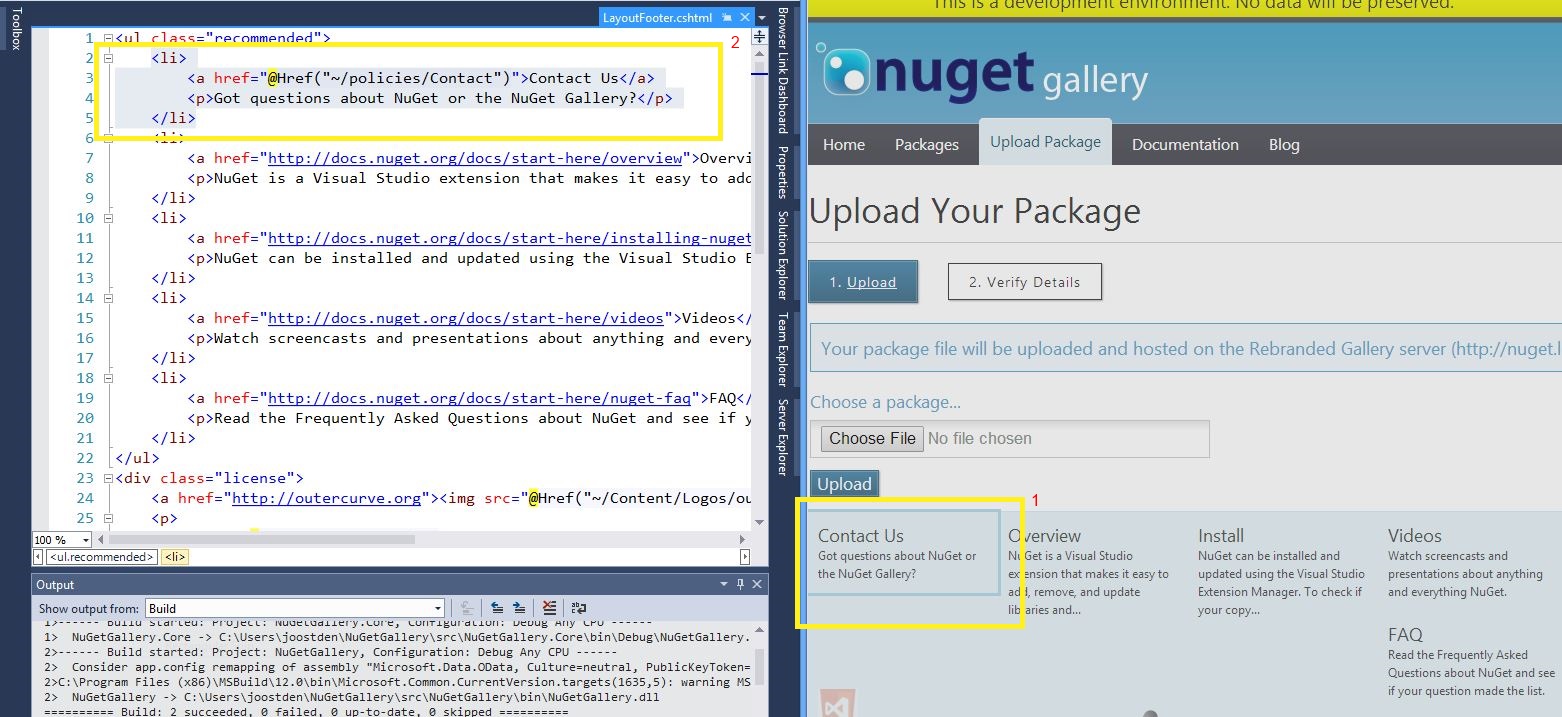
Either click the inspect element or use the keyboard shortcut (Ctrl+Alt+I). Make sure that you can see both Visual Studio and the browser. Now hover over the page to see which file generated which parts of the page.
![Screenshot of hovering over an element in the browser in inspectmode (1), with the VS also visible and having that element in the IDE highlighted(2)] (https://raw.githubusercontent.com/NuGet/NuGetDocs/master/NuGet.Docs/images/Contribute/browserlink2.jpg)